 Troop Campfire
Getting your unit into Campfire only takes a few minutes. This article walks you through the onboarding flow — from choosing your organization type to completing your unit profile so members can find and join you.
How to set up your troop
- Go to troopcampfire.app and create an account, or download the Campfire mobile app — either way works.
- On the onboarding screen, select your organization type: Scouts BSA, Cub Scouts, Venturing Crew, Sea Scouts, Girl Scouts, or Other Youth. This controls which ranks, program terminology, and features appear throughout the app.
- Enter your unit name. This is what members and families will see.
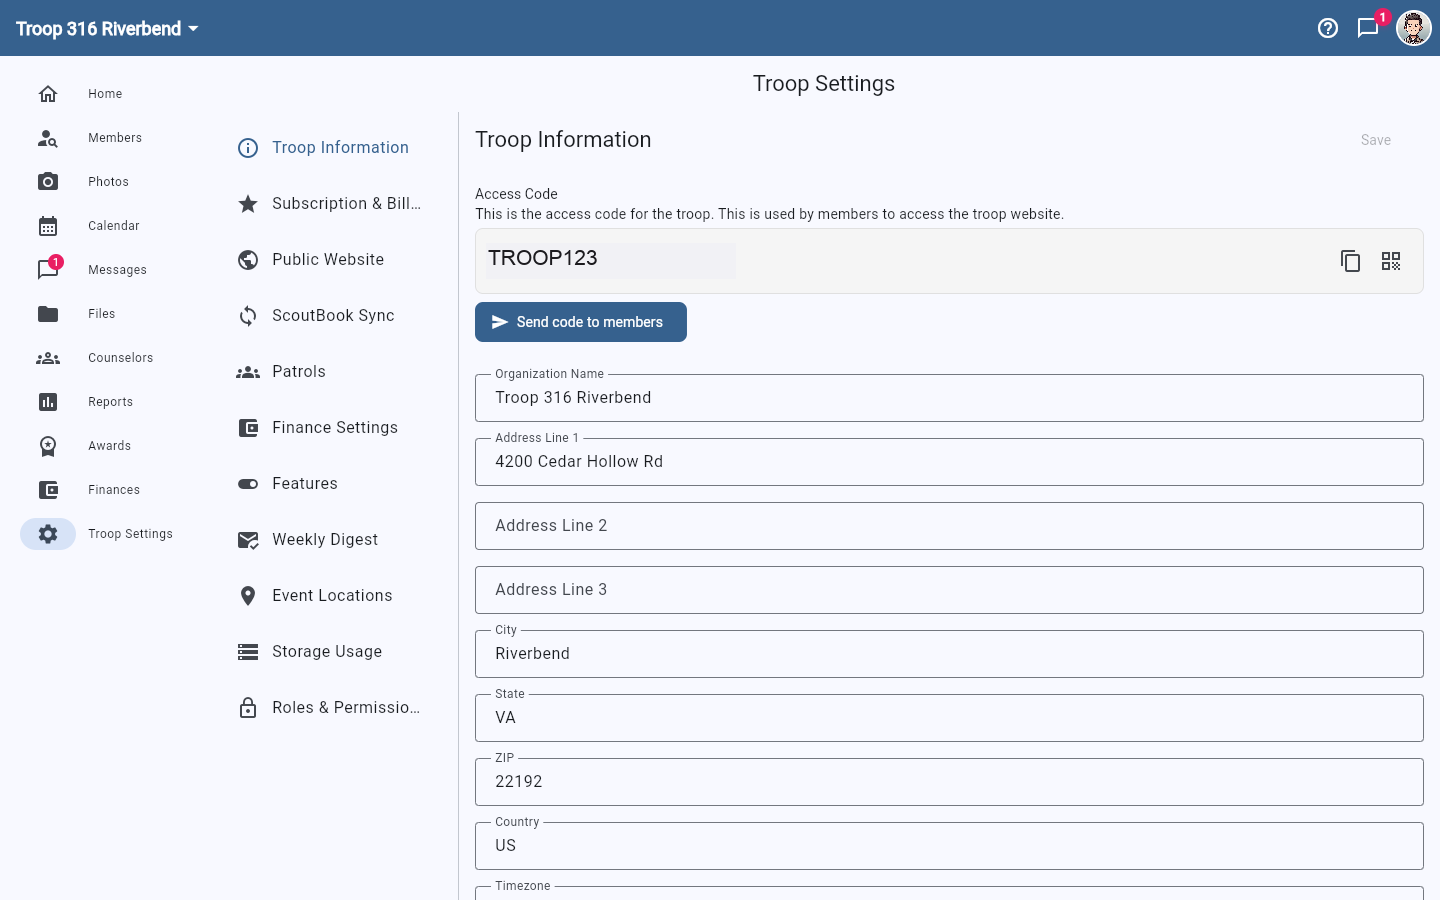
- Provide basic info — unit address (line 1, line 2, line 3), city, state, ZIP, country, and timezone.
- Finish setup. Your troop is live and ready for members.
What to do next
- Invite your leaders and committee members first, so they can help onboard families
- Import your roster from Scoutbook if your troop has existing records
- Create your first event so families see an active calendar when they join
You can update any of this later from Account Settings → Organization → Troop Information. On a wide screen there's a shortcut — Troop Settings in the left navigation goes to the same place. The label follows your program, so a pack sees Pack Settings, a crew Crew Settings, and a ship Ship Settings. Nothing is locked in during initial setup.